


DIY: Party Hat for Your Pup
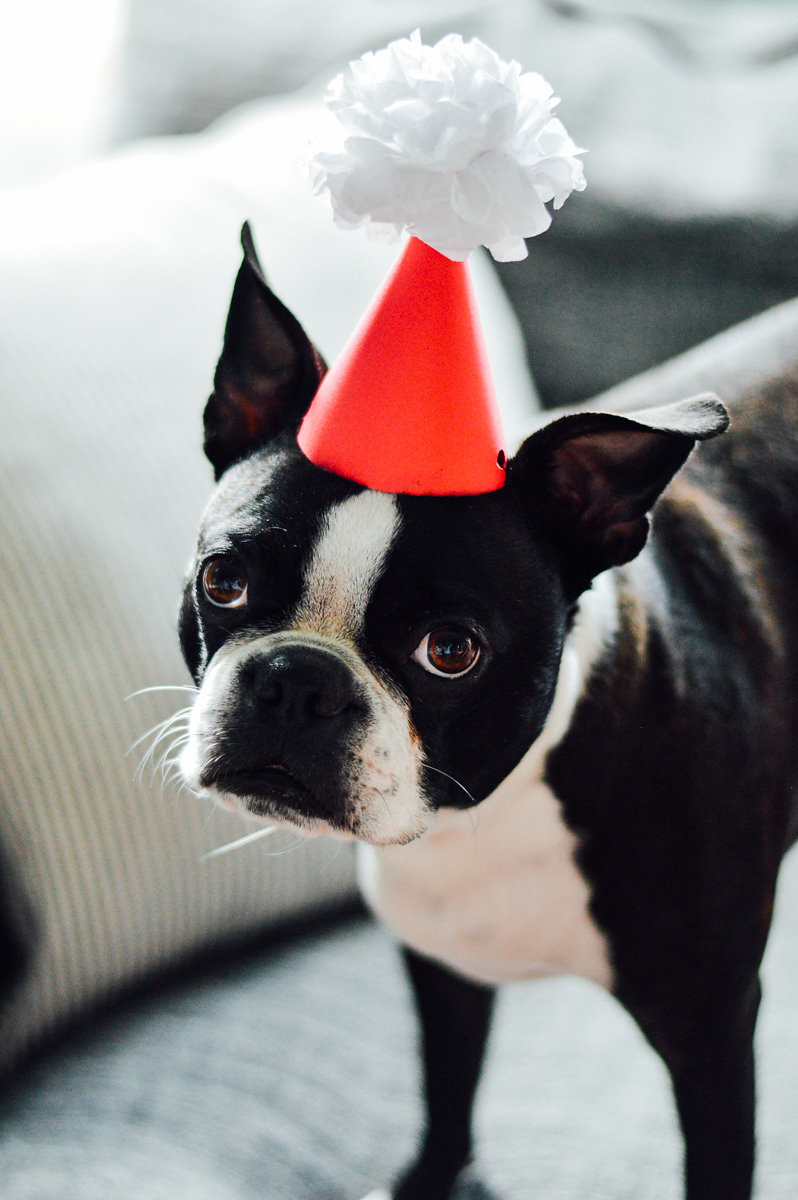
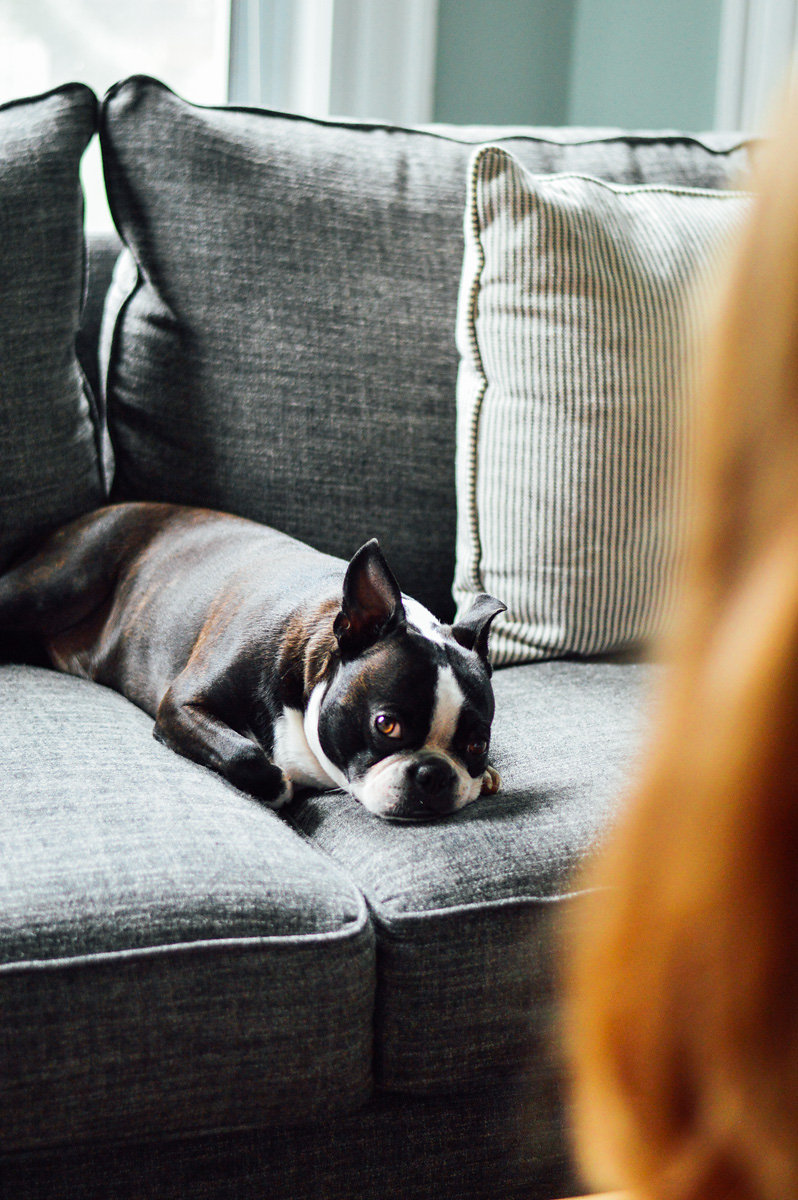
If there’s one thing I’m obsessed with (other than weddings), it’s puppies, and my own pup Wally is no exception. Okay, okay – he’s not exactly a puppy anymore, but he’ll always be a pup in my heart. In fact, this month, Wally turns 3 years old, making him 21 in dog years!
You know what that means…
21st Birthday Puppy Party. We weren’t kidding when we said we would find ANY Excuse to Party.
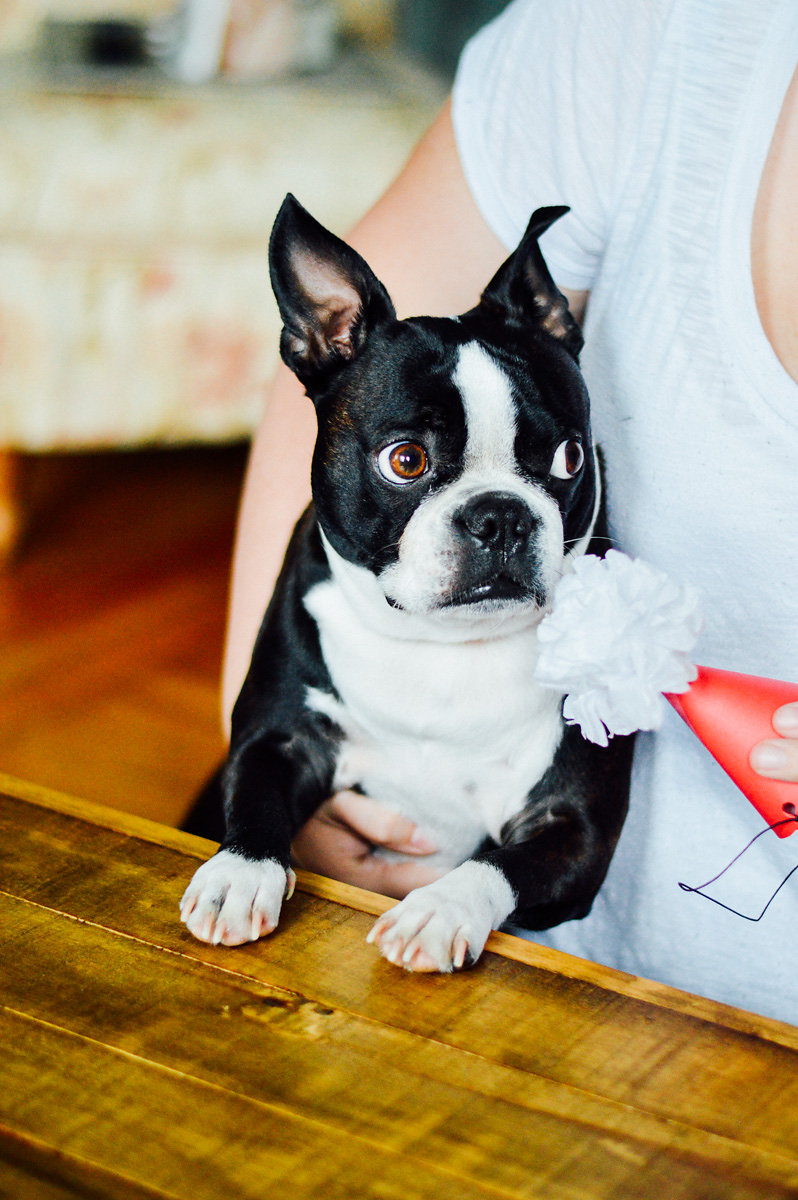
Like any good puppy parent, I went all out for Wally’s birthday and teamed up with Gabi from By Gabriella once again to plan a dog-approved 21st birthday bash. You better believe we had balloons, a specialty cocktail for our human friends, and most importantly, shots (of peanut butter) in the cutest little pup-sized solo cups. To tie it all together, I made sure everyone knew Wally was the birthday boy with this DIY puppy party hat. Here’s how to make your own!
DIY PUPPY PARTY HAT
What you’ll need:
- Cardstock (in a color of your choosing – we used Wally’s signature color, of course!)
- Hat template (we found ours on Pinterest)
- 1 sheet of tissue paper (again, your choice of color!)
- 10″ elastic string
- Scissors
- Pencil
- Scotch Tape
- Thin wire
- Hole punch
Instructions:
1. Print your party hat template and cut it out
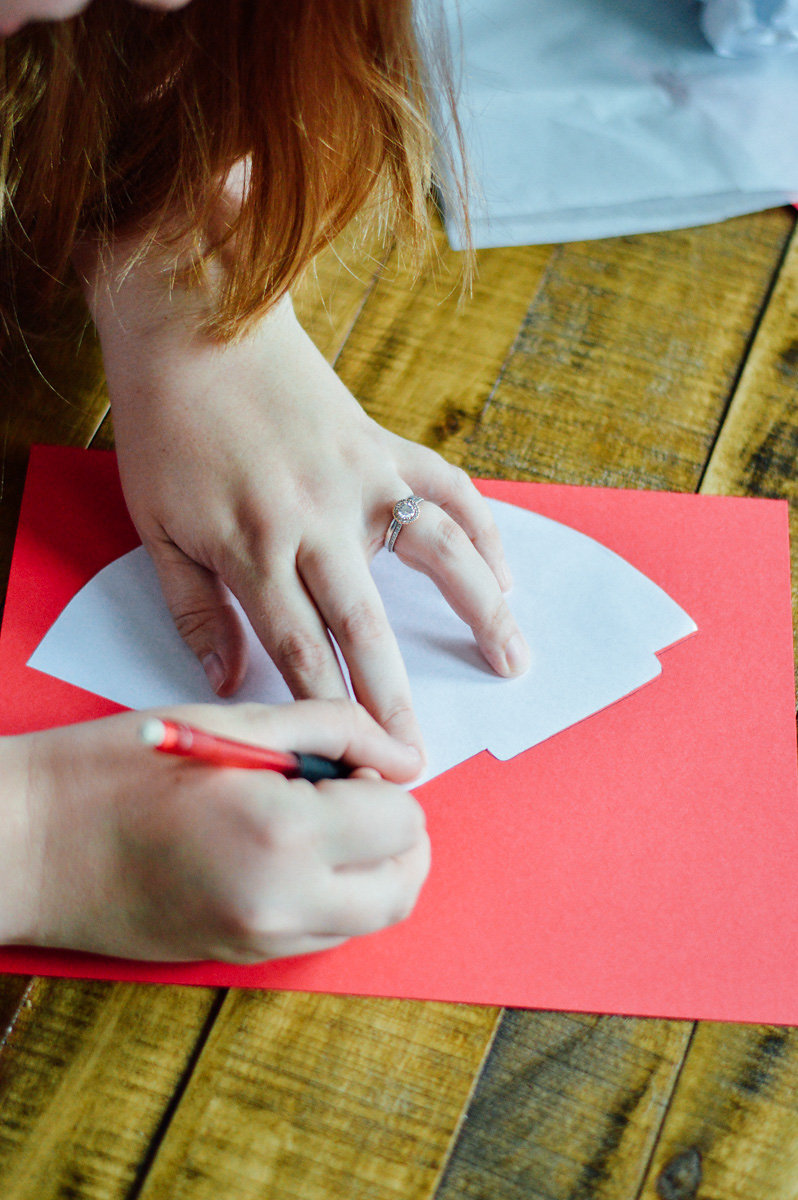
2. Place template on top of your colored cardstock and trace using your pencil
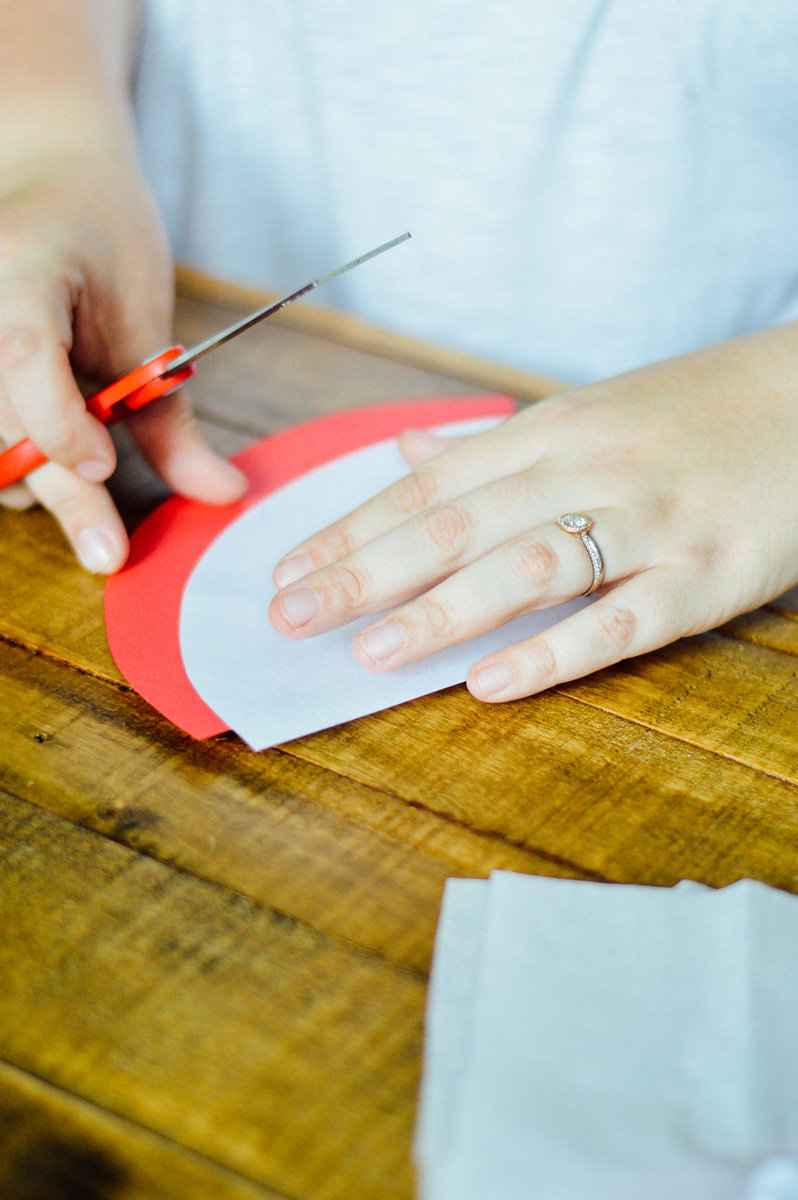
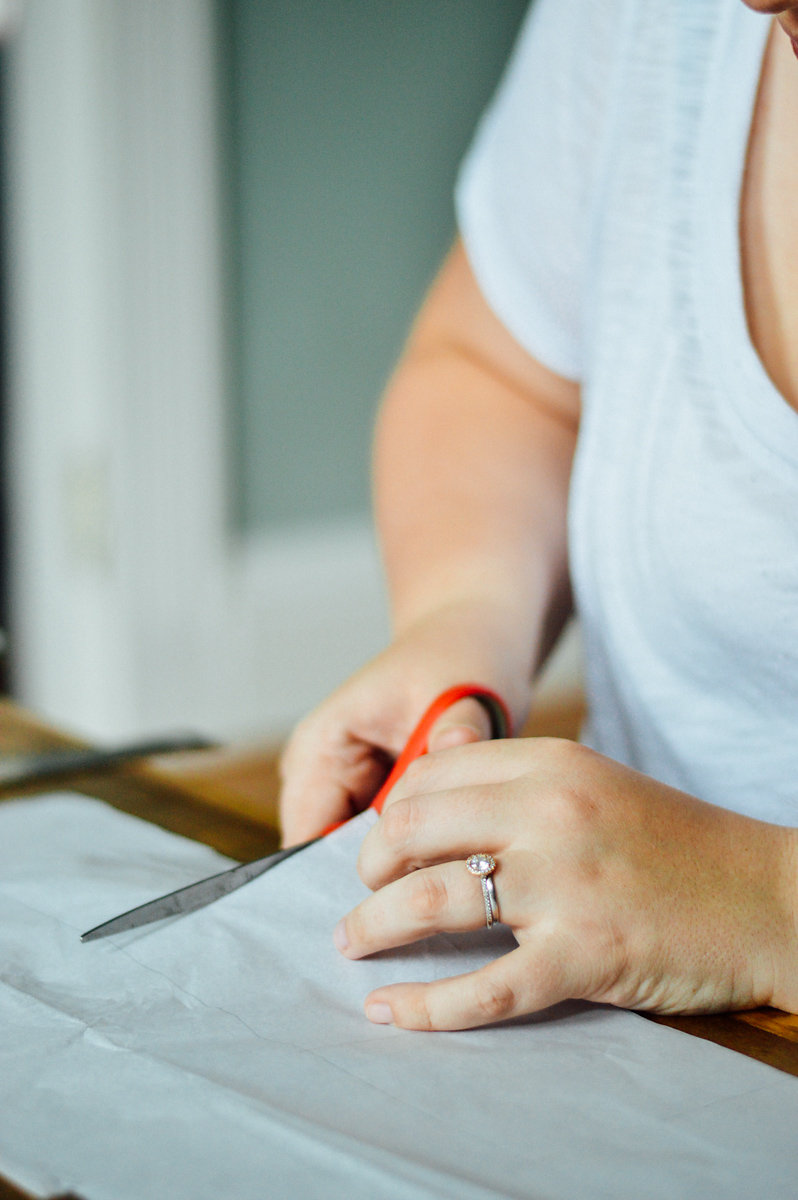
3. Cut along your pencil lines
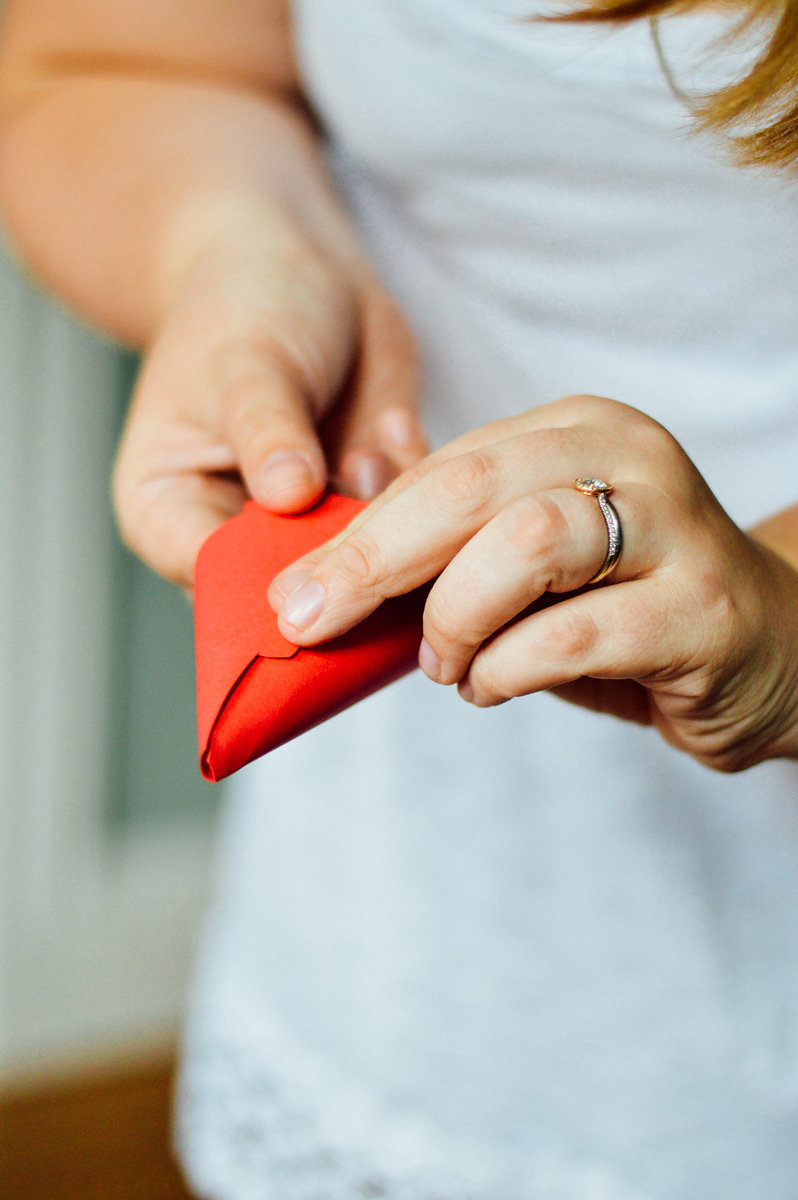
4. Fold your hat into a cone shape until the edges meet and secure with tape. (Before taping, I made sure that the hat was the right size to fit on Wally’s head comfortably and trimmed my cardstock hat as necessary.)
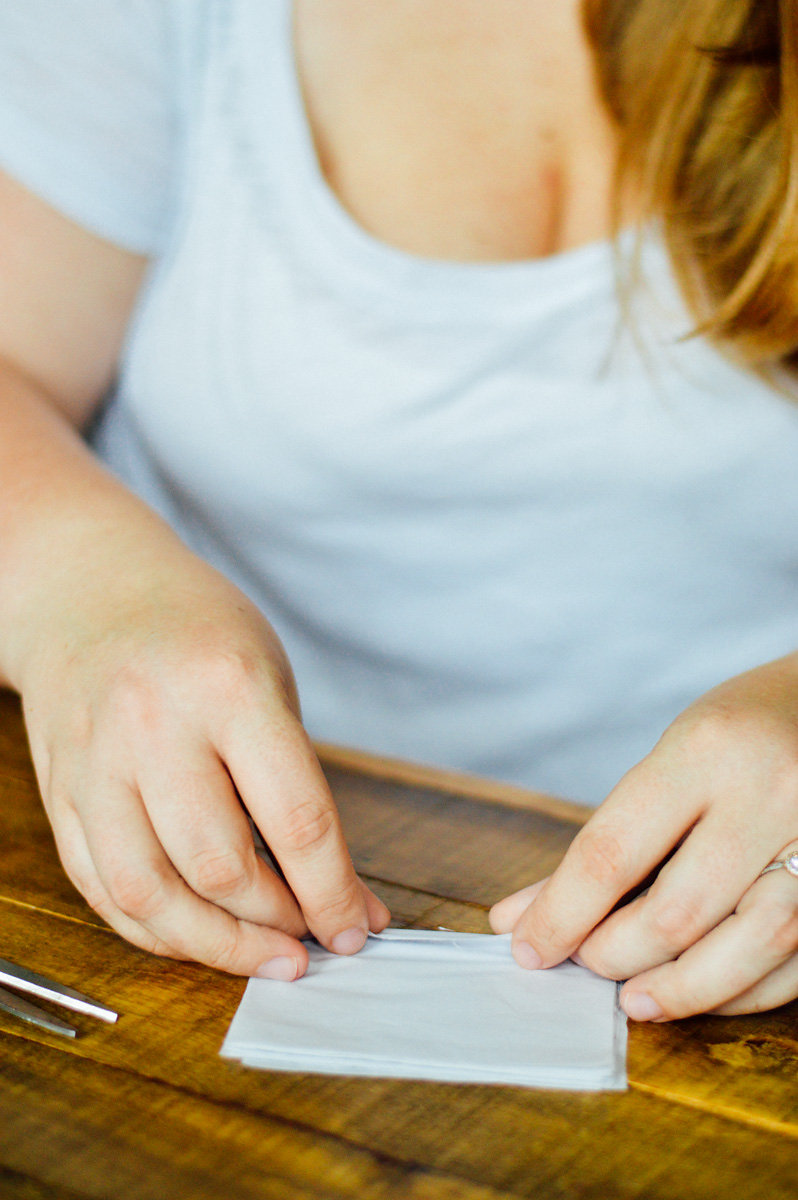
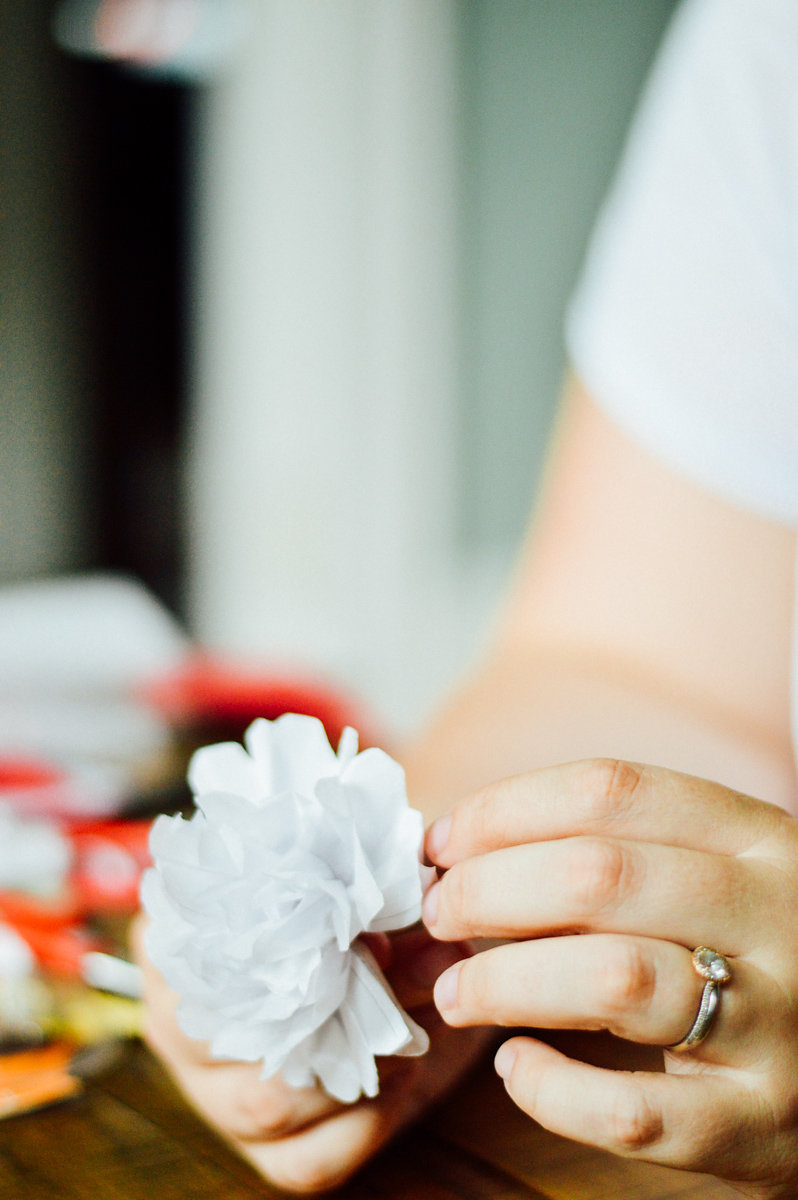
5. Create your tissue paper pom pom. Cut 8 4″x4″ pieces of tissue paper.
6. Place each piece of tissue paper on top of each other and make sure the edges align.
7. Fold accordion style until the whole stack of tissue paper is folded.
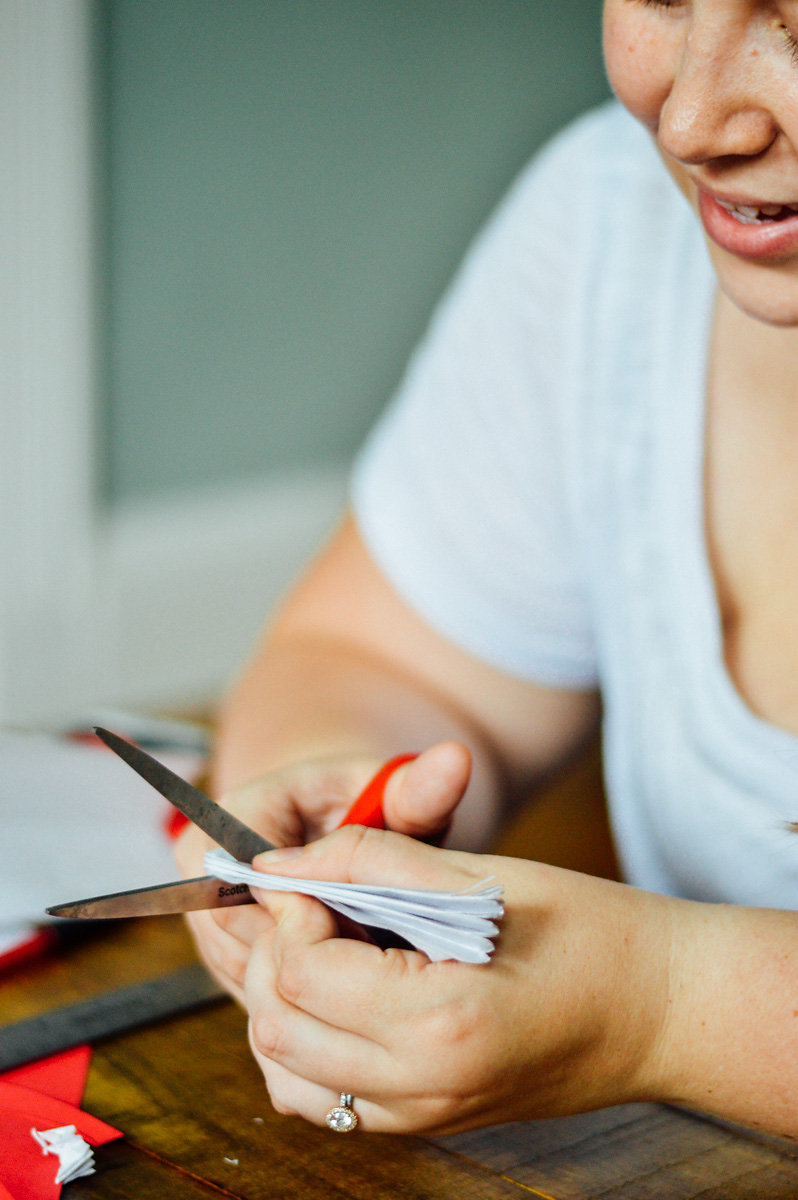
8. Trim both ends of your folded tissue paper so that the ends are rounded.
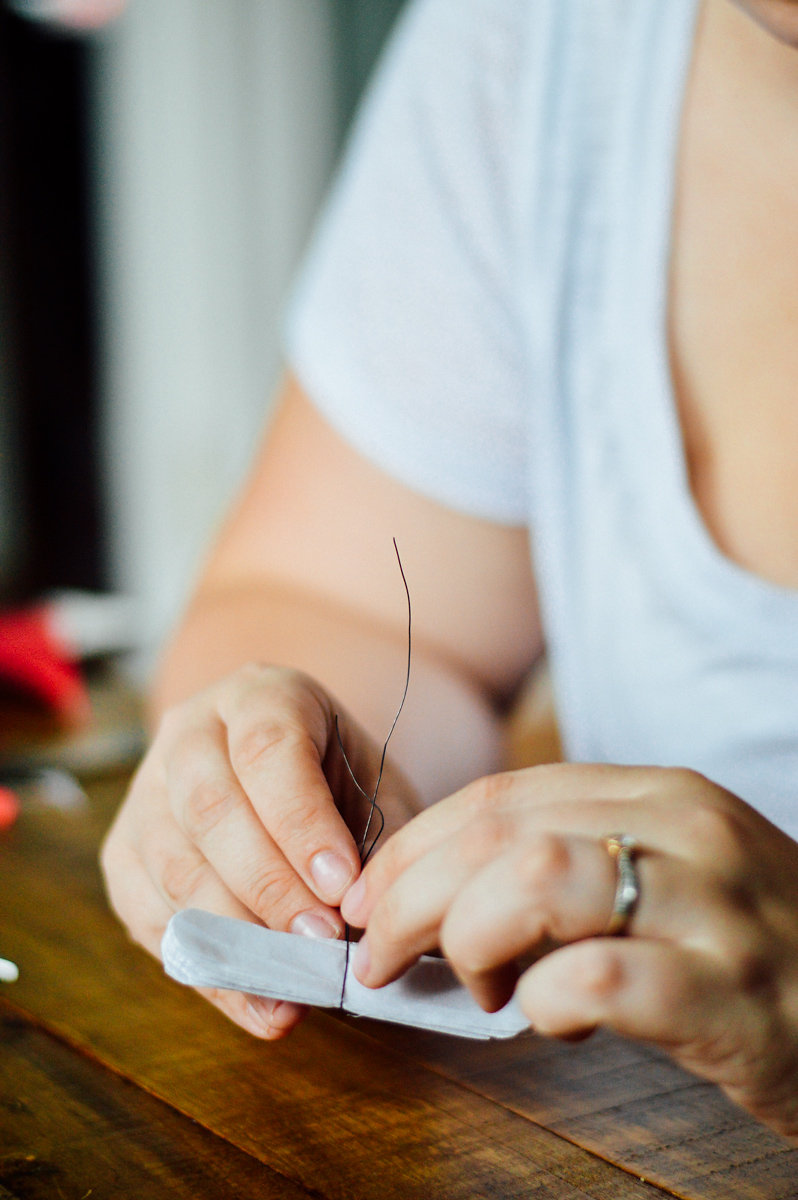
9. Fold the folded stack of tissue paper in half so that the two ends meet. Secure the middle with wire, leaving a couple of extra inches at the end.
10. Unfold, and gently pull each layer of tissue paper apart from the rest of the stack. Be sure to pull in both directions to create a round “pom pom”.
11. Slide the extra wire into the small opening at the top of your cardstock cone. Trim the wire as needed, and secure inside of the hat with tape.
12. Punch two holes opposite one another into the sides of the cardstock cone.
13. Tie each end of the elastic string into the punched holes. Adjust as needed to fit your pup’s head.
14. Place the hat on your pup’s head and have plenty of treats on hand to distract them from the fact that there is a hat on their head (which they will inevitably hate). Enjoy!
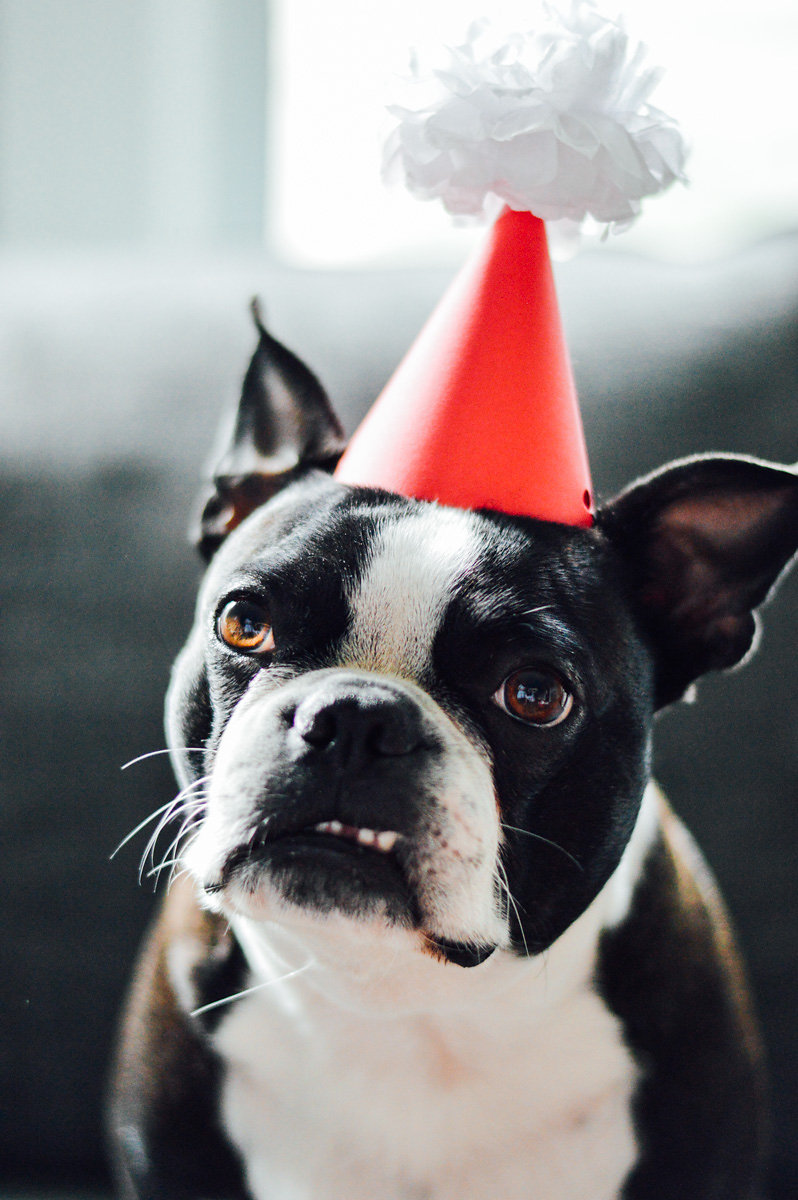
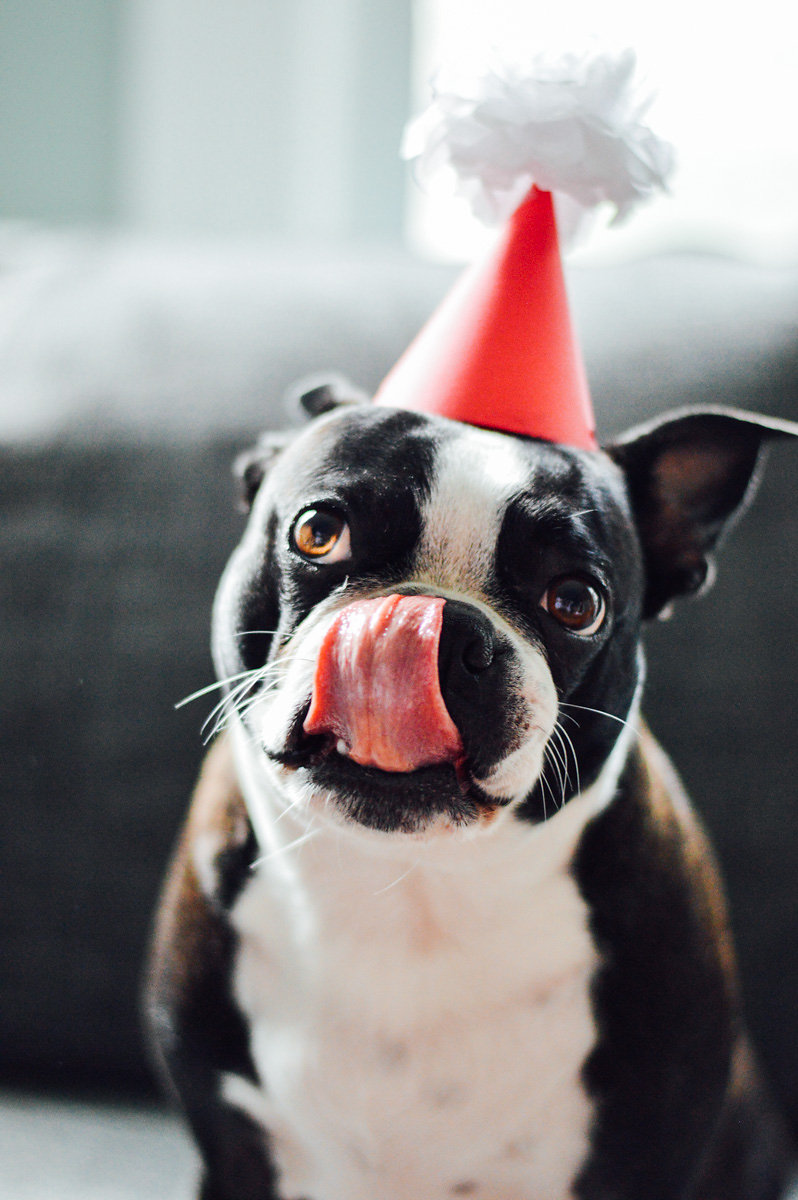
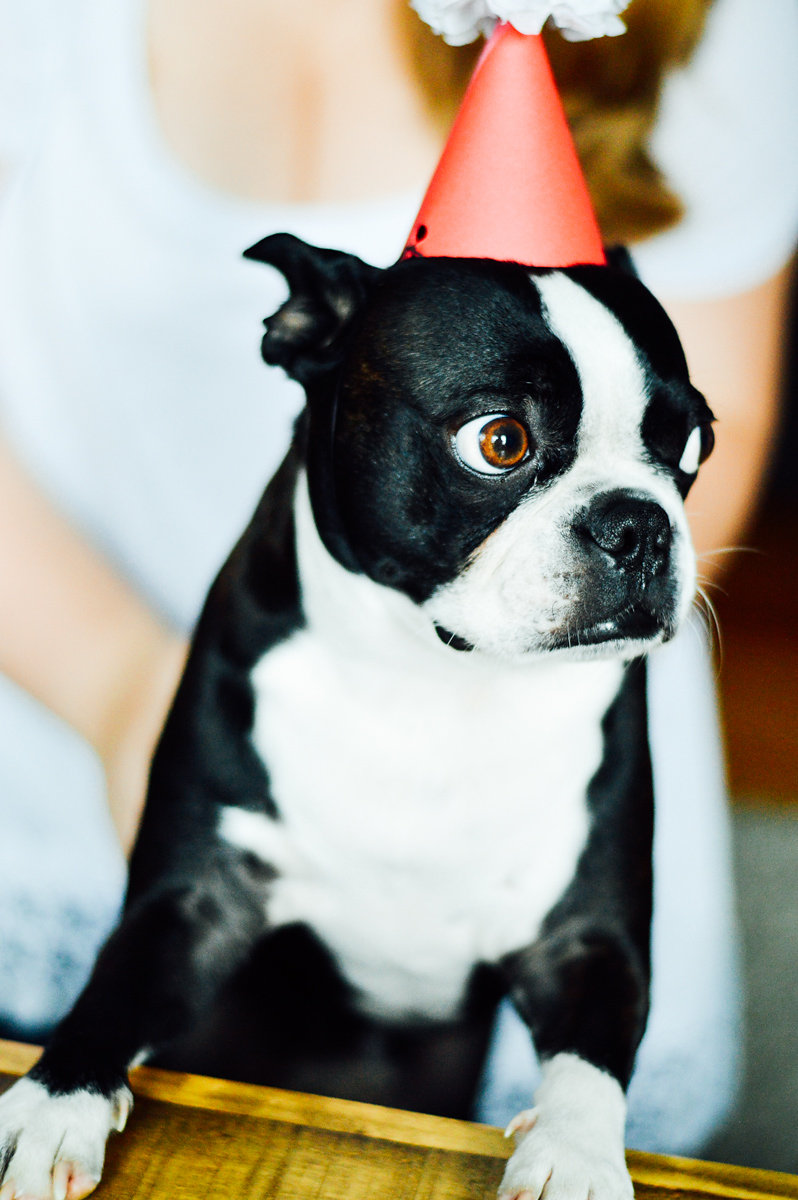
I don’t know about you, but I think Wally knows how stinkin’ cute he looks in this hat and he is 100% ready to get ruff’d up for his 21st birthday. See what I did there?
You can see more photos from Wally’s 21st here (trust me, it’s worth it), and you can see the full post over at By Gabriella. Enjoy!


just discover this site from somewhere. great sharing story & experiences. i will recommend this site to my friends out there.
Thank you for sharing this great article i hope its work to me and its helpful < a href ="http://swechaevents.com/">Event Planners In Hyderabad</a>